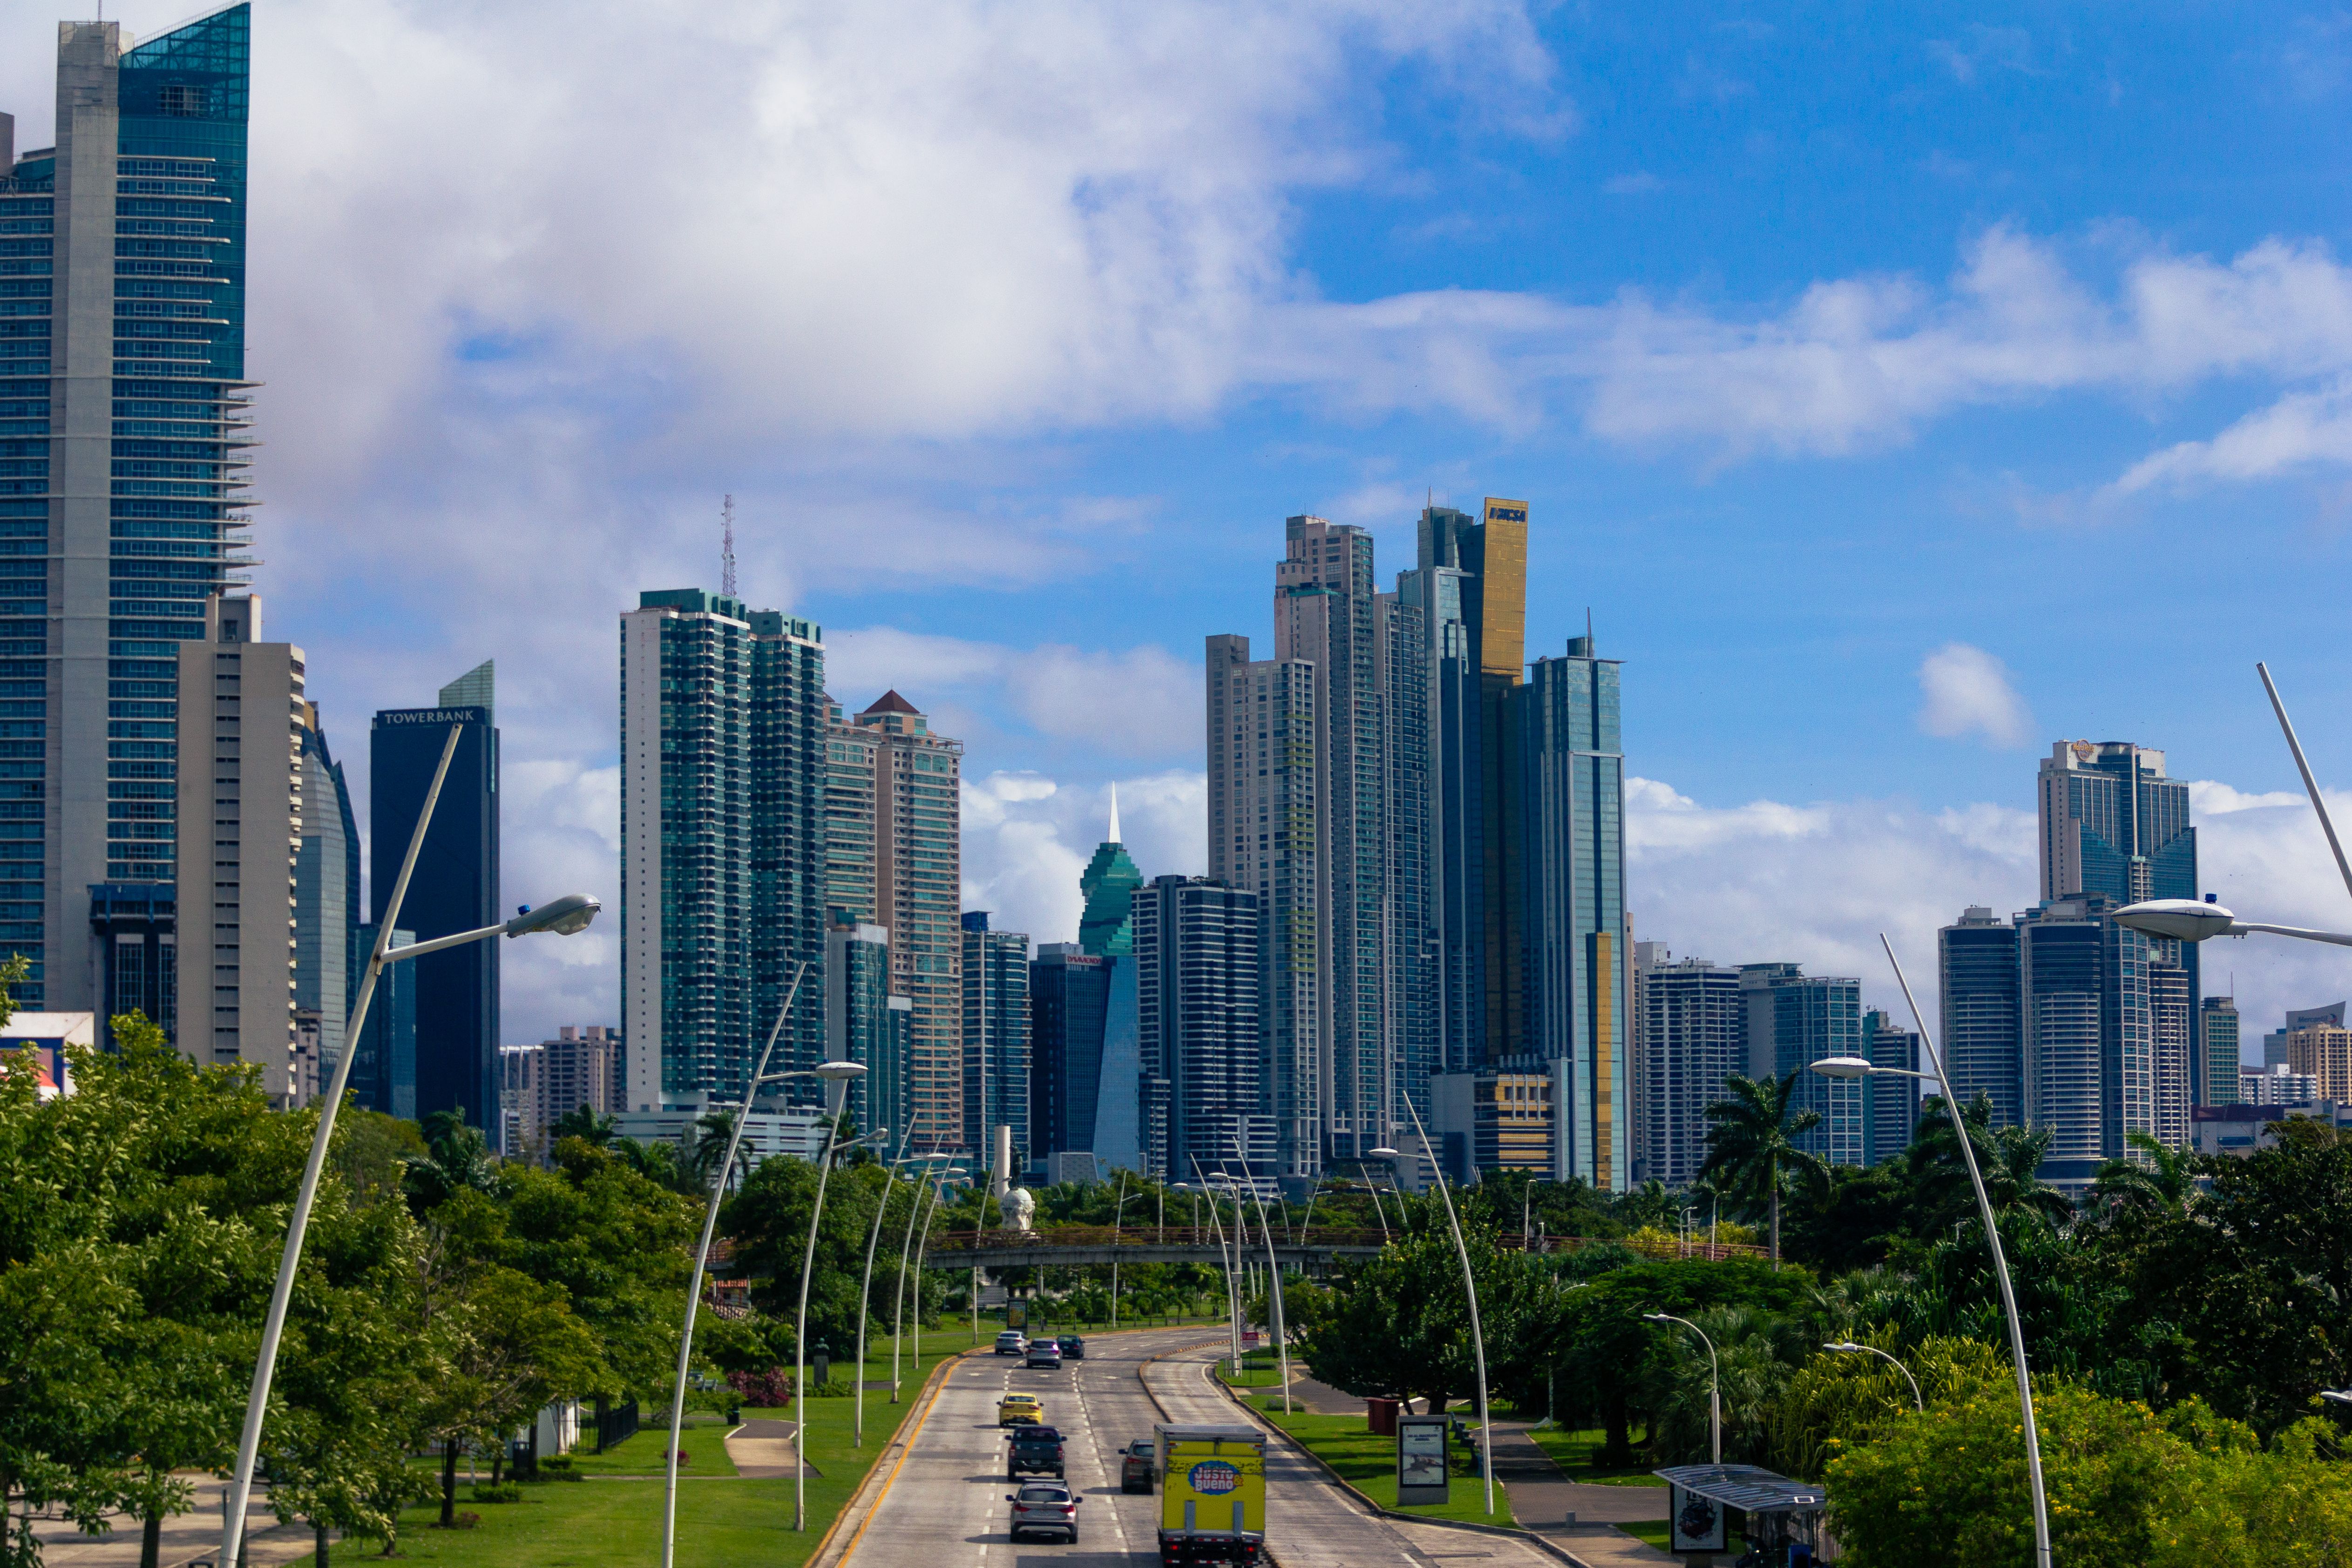

Your First 30 Days in Panama: A Relocation Checklist
Moving to a new country is exciting. With the right plan, the transition can be much smoother than you might expect.
Week 1: Settle In and Explore
The first few days should be focused on getting comfortable. Many newcomers start by staying in temporary housing while they explore different neighborhoods. This is the best time to explore potential areas, visit supermarkets and shopping centers, learn local transportation options, and begin building a routine.
Week 2: Secure Long-Term Housing
Once you’ve identified the area that best fits your lifestyle, secure your long-term home. Popular areas include:
- Costa del Este
- Santa María
- Punta Pacífica
- Avenida Balboa
- Buenaventura
- Boquete
Week 3: Banking, Documentation and Essentials
This may include opening a bank account, meeting with legal advisors, reviewing residency options, setting up local services, obtaining a local phone number, and exploring insurance options.
Week 4: Start Building Your New Life
By the end of the first month, most people begin feeling significantly more comfortable. You start recognizing familiar places, know where to shop, understand how to get around, and begin to picture what daily life in Panama can actually look like.
Relocating Is More Than Just Moving
The first 30 days set the foundation for everything that follows. It’s about finding the right community, creating a support system, understanding how things work locally, and feeling confident in your new environment.
At Go Panama Now, we help individuals, families, retirees, entrepreneurs, and investors navigate every step of the relocation process.